正文
临时邮箱程序开源免费源码–Forsaken-Mail
临时邮箱程序开源免费源码–Forsaken-Mail
Forsaken-Mail是一个可以自动生成临时邮箱账号地址的程序,而且邮箱地址每次刷新就可以自动更换,网页上直接可以接收邮件。
很多时候还是有这种需求的。
Github:https://github.com/denghongcai/forsaken-mail
demo:http://shared.readmail.net/

要求:
1.服务器需要开启25端口
2.域名MX记录,记录值@,指向服务器IP地址,优先级设置10
A记录,记录值@,指向服务器IP地址
安装方式:
可以参考github上的地址,下面也写一下。
1.NPM安装
1.1安装npm
#Debian/Ubuntu系统
curl -sL https://deb.nodesource.com/setup_10.x | bash -
apt-get install -y nodejs git screen

#Centos系统
curl -sL https://rpm.nodesource.com/setup_10.x | bash -
yum install nodejs git screen -y
1.2安装Forsaken Mail
git clone https://github.com/denghongcai/forsaken-mail.git
cd forsaken-mail
#安装Forsaken Mail
npm install
#后台运行Forsaken Mail
screen -S forsakenmail
npm start
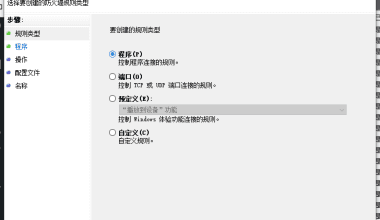
最后按Ctrl+A,再按D键返回主界面,然后打开http//mx.xx.com:3000就可以查看Forsaken Mail邮箱界面了,如果你打不开界面,可能还需要开启防火墙端口。
2.Docker安装
2.1安装Docker
#CentOS 6
rpm -iUvh http://dl.fedoraproject.org/pub/epel/6/x86_64/epel-release-6-8.noarch.rpm
yum update -y
yum -y install docker-io
service docker start
chkconfig docker on

#CentOS 7、Debian、Ubuntu
curl -sSL https://get.docker.com/ | sh
systemctl start docker
systemctl enable docker
2.2安装Forsaken Mail
docker run --name forsaken-mail -d -p 25:25 -p 3000:3000 denghongcai/forsaken-mail
安装成功后打开http//mx.xx.com:3000即可
嫌弃域名加端口访问不方便就看下下面的教程
使用nginx或者apache来做一个反向代理
反代地址http://localhost:3000/
宝塔面板反向代理教程:宝塔面板反向代理配置使用教程
